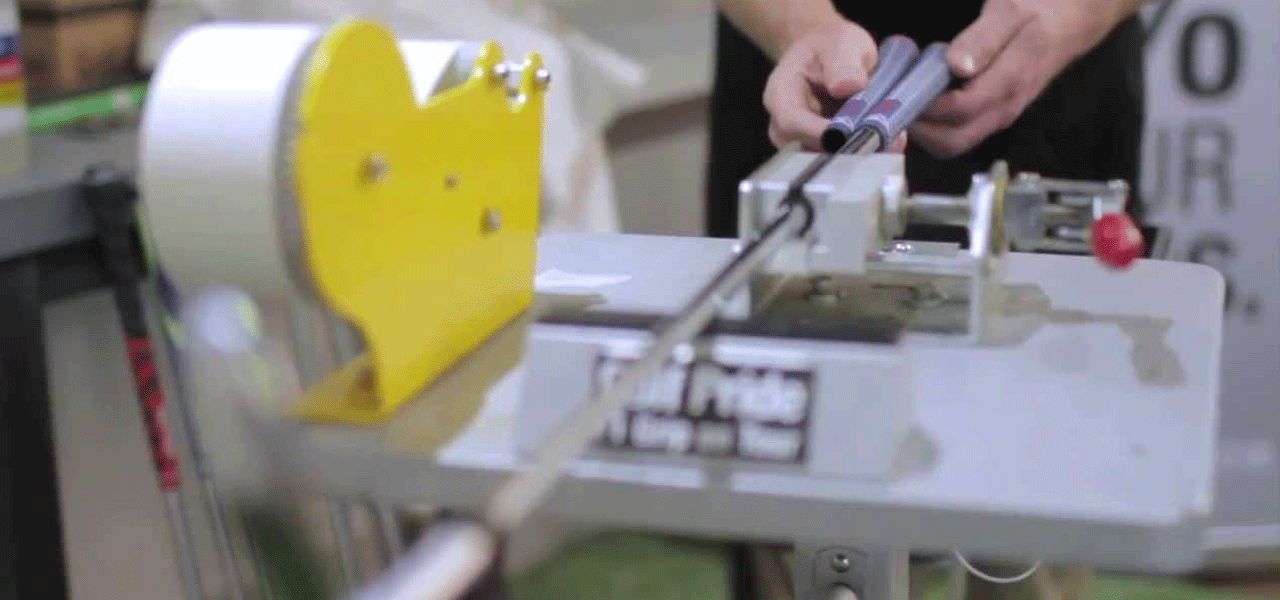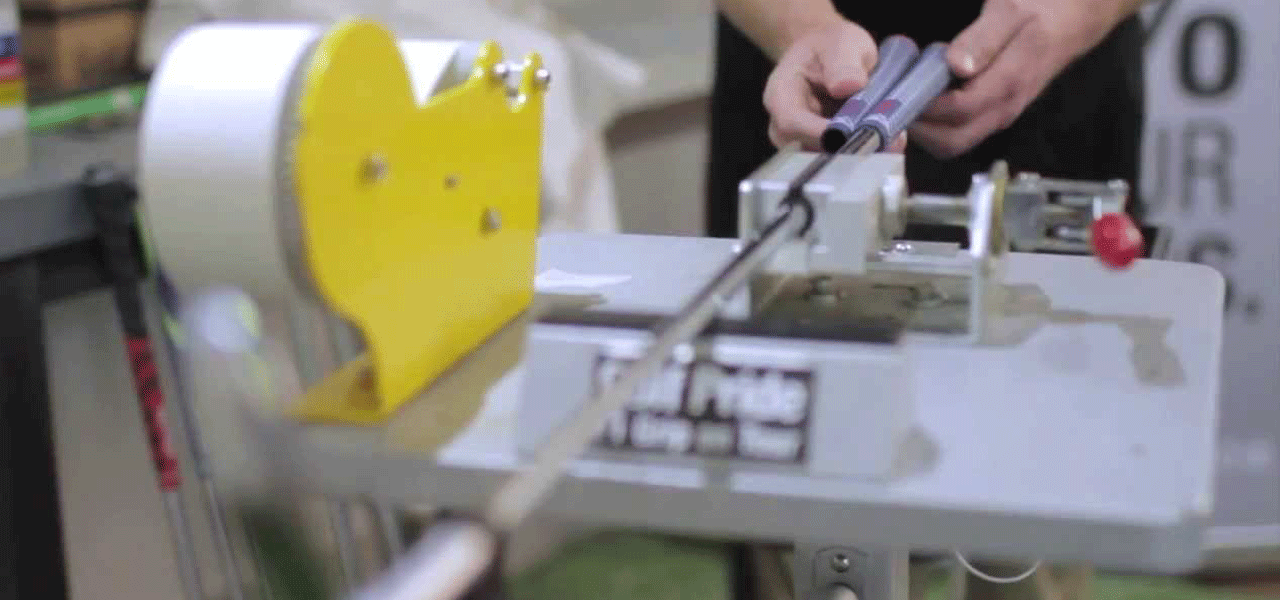
In this post, we will walk through the simple steps for installing one of our genuine leather putter grips on your putter.
First, we would like to issue a small disclaimer; if you are someone who enjoys Do-It-Yourself projects, you will find this process fun and rewarding. If you do not, you may want to let your local golf shop, or club do the heavy lifting.
Second, with the proper tools our our leather grips are very easy to install and no different from the installation of any other rubber golf grip.
Here are the supplies we recommend that you need for the installation:
Grip Solvent / Mineral Spirits
Hooked Knife
Two Sided 2" Grip Tape
Vice / Rubber Clamps
Drip Basin
Towel
Before you begin the installation process, make sure that you are working in a well ventilated when working with hazardous materials.
Step 1: Secure the golf club.
Using the clamp, secure the golf club firmly into place.
Expert Tip: Make sure that the golf club is squarely lined up. This will make alignment easy when it easy when it comes time to install the new grip.
Step 2: Remove the old putter grip.
Using your draw knife, make a straight cut the entire length of the golf grip. Next, peel away the old grip, leaving only the old grip tape on the handle of the club.
Expert Tip: Always cut away from yourself.
Step 3: Remove the old grip tape.
Remove the old grip tape at your own pace. You may use the draw knife or razor blade to remove the existing tape from the shaft handle.
Expert Tip: Use a heat gun, or a hair dryer to make this step faster and easier. Also, you can use an acetone to remove any stubborn glue remnants.
Step 4: Apply the new grip tape.
Measure out a strip of grip tape .5-1" longer than the length of your putter grip and cut. Apply the adhesive side of the tape lengthwise to the handle, leaving the excess tape overlapping the butt end of the handle. Next, peel away the tape backing and proceed to wrap tightly over the handle. Twist the excess of overlapping tape and plug it into the shaft butt end. This will keep all debris and solvent out of the shaft after installation.
Expert Tip: Be sure and check the core size of your new grip and your shaft handle diameter before performing installation. Most club shaft butt ends will measure at .580 inches, and most grips will have a M58 core size. This combination will create a perfect standard size fit. However, there are some putter grips that have a M60 core size. If you run into this situation with a .580 shaft butt end, make sure that you use a couple of extra wraps of tape under the right hand of the grip. As this will allow for a perfect fit.
Step 5: Apply the grip solvent to the grip tape.
Pour (1) cup of grip solvent into a spray bottle. Hold the new grip vertical with the butt end in your hand. Using your finger, cover the hole in the grip butt end and spray 5-7 sprays of solvent into the grip. Also, use the spray bottle to wet the new grip tape with solvent. Next, with your finger still over the hold in the grip butt end, use a finger from your opposite hand to cover the large grip hole and proceed to mix the solvent inside of the putter grip. After the solvent is mixed, dump out all excess solvent onto the new grip tape.
Expert Tip: You can never use too much grip solvent, but if you use too little, the grip may get stuck midway during the installation process.
Step 6: Install the new putter grip.
With the putter grip visually lined up squarely to the club's toe end, slide the new grip over the grip tape and towel off to dry any excess solvent and avoiding contact with the leather portion of the grip.
Expert Tip: Slide the putter grip on quickly.
Step 7: Align your putter grip.
Remove the putter from the vice and visually make adjustments to your new putter grip to assure that your grip is aligned properly. You will have approximately 5-10 minutes to adjust the grip to make sure that it is properly aligned.
Step 8: Allow the proper time for glue to cure
Allow the proper time for the glue from the tape to cure and the grip to set. We recommend waiting at least 60 minutes dry time before use.


Comment
I have gotten your comments and Tweets and decided to stop back in to check things out. It has been a while and reading that your products are all leather is a plus, for me.
I will be in touch over the next week and chat a bit. When I sell one of my handmade putters, a custom grip option, or to be able to add them as “Standard Grip” would be something that a gentleman spending $5-800 on a putter, could really appreciate.
Do you have any non-embossed options? If I wanted just a black leather midsize stitchback, could that be done? Or, if I sent a large piece of leather, would it be at least worth looking at to have some grips made from this hide?
Any feedback you can give or information would be great. I will try to find some pictures of that leather and send them to you.
Have a great weekend!
LaMont in AZ